Howdy, this week has been all about animation retargeting. I briefly covered it last week, but this week we may have made a promising breakthrough.
If all goes well, we can retarget EVERYTHING from the old project with minimal cleanup ( feet going through the floor, hands and weapons point the wrong way, etc.) That means that unlike how it took roughly a week to get Dawksin back up and running, in 2 weeks we could have ALL of the enemies brought back.
So with that great promise, comes a few…RESTRICTIONS. Lemme explain.
With the old project, most enemies and character had their own custom skeleton, each with their own animations. This made it really easy to keep a character self contained, but made it impossible to share animations across characters.
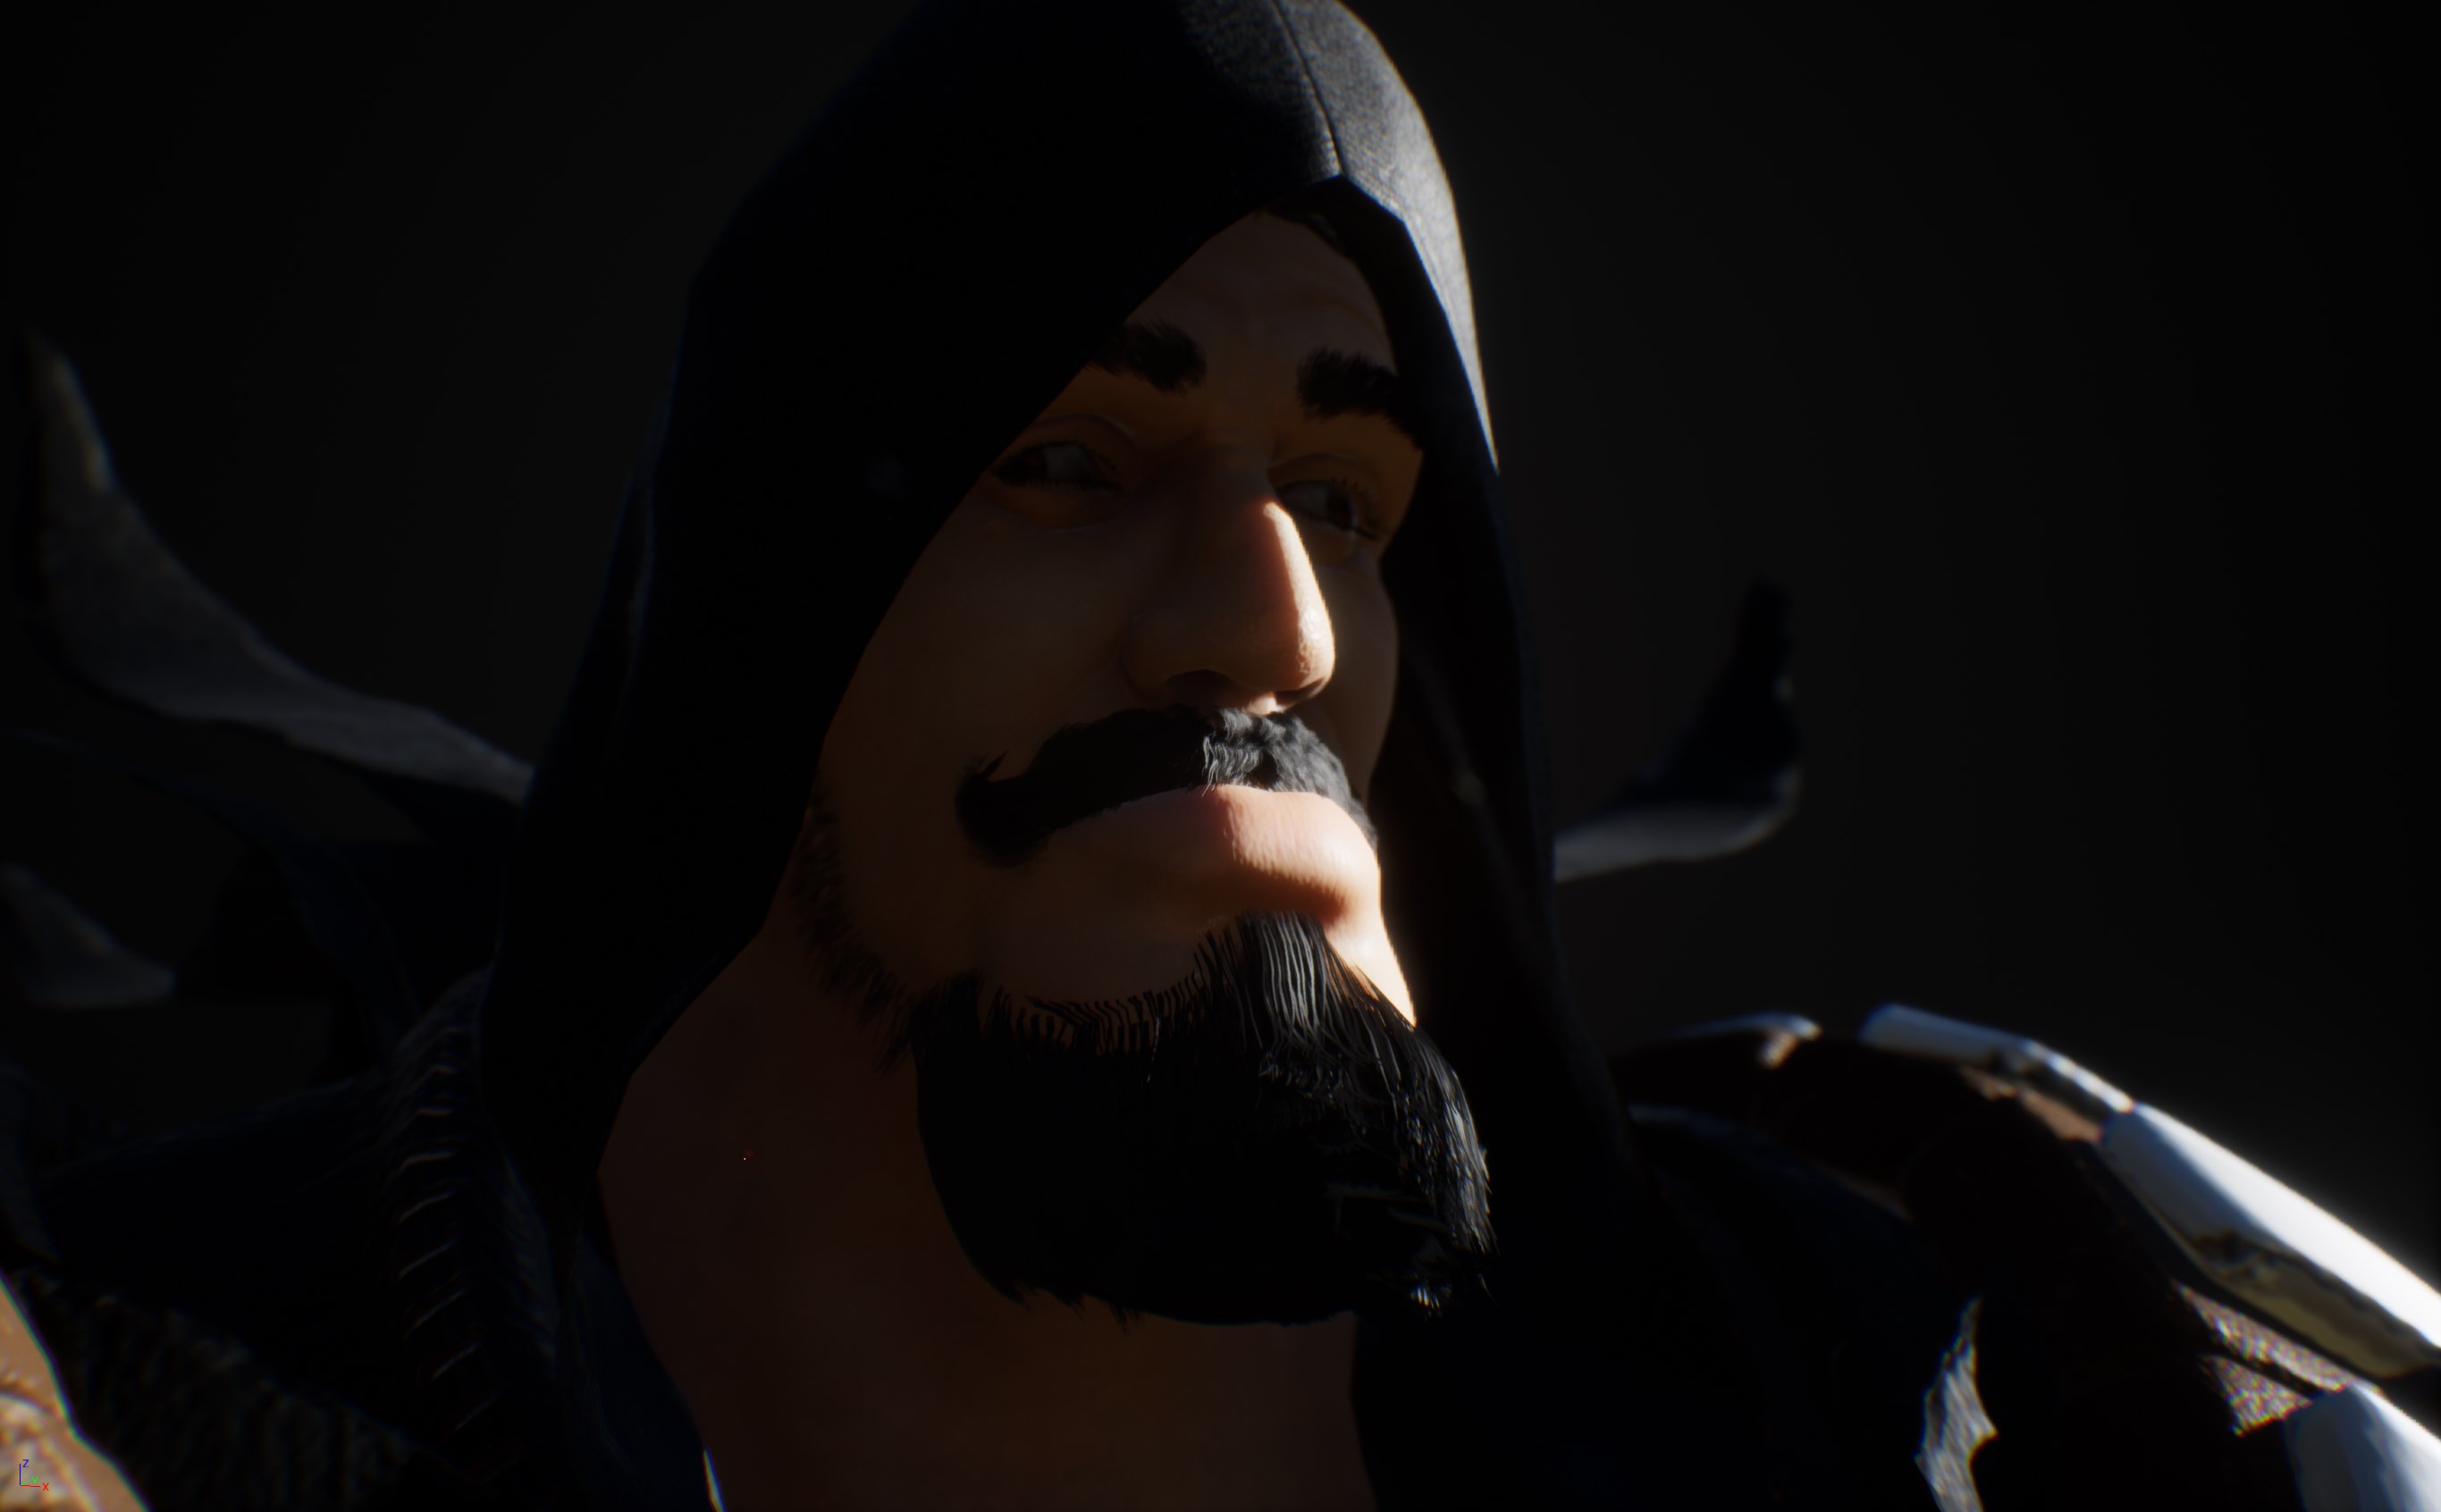
When we started working on the cultist, we made a decision to stick to one skeleton, and reused Dawksin’s skeleton, which was great, but it had the unfortunate side effect of keeping the original proportions.
He’s a bit short. Shoulders are lookin a bit weird. Its fine.
We kept going anyway and eventually the monster variant of the cultist
Ok, this might be a bit of an issue. He’s really short now. But maybe it’s fine?
Then the Constructor shared the same skeleton as well. But…uh, the proportions thing became a bit more of an issue.
Can we keep it?
As much as I love everything about this, we couldn’t keep it.
So our solution before was to make custom animations for every character, even though they shared the same skeleton. This solves the proportion problem, but introduces a ton more work.
One of the big advantages, is that if the two skeletons proportions don’t match, you can use IK for it to sorta figure it out. The idea is to have both skeletons have a goal, and then the IK tries to match it.
IK in Action
So we added them to the hands and feet, and just like that, we can fix incredible common problems across ALL OF THEIR ANIMATIONS.
Turns out there’s a huge problem. This system was intended for mostly human proportions, so when you introducing a character that towers above everyone else, it sorta breaks. Like really badly.
Uh oh
So its a bit of give and take. Good news is that it works for most characters, and for the big ones, we still have to fix them up manually, but its not as bad as before. With this research out of the way, we should in theory be able to add about 10 missing characters with all animations in about a week.
Behold. I have come to thee this week bearing great gifts in the form of animations.
Much like last week, this week is all about animations. BUT TO WHAT END?
The goal was simple. Get Dawksin back in action with the same criteria as before. No big deal, we did it before and we can do it again… BUT BETTER.
Dawksin, but better
So, what would we do differently?
Making Some Changes Around Here
Dawksin differs from the default player character in a pretty significant way. He can equip and unequip his weapons after being out of combat for a bit. This actually existed in the last project for a little while, but we had to shelve it because we didn’t have enough time to implement it properly before getting the demo out.
But this time around, he’s going to make full use of his new passive and be able to summon his swords and get a damage boost on his first attack. So lets jot down what we need for that.
• The same animations as before, but without holding anything. • That’s a lot of animations. • Good lord that’s so many animations. • Why did we think this was a good idea? • Its not too late, we can just not do this.
So we made all of the animations.
Leveraging all of the animations we already made, it was relatively straightforward, just incredibly time consuming.
Animation retargeting lets us take existing animations and roughly match them to a different character, but with the trade-off that they’ all have some problems. Mostly things like hands not matching up, feet going through the floor, my will to live quickly fading, etc.
90% of the way there
Took all of those animations and edited them to fit Dawksin and made one set for him holding his swords and a second one where he’s not holding anything.
He can now move in all directions, dodge, turn in place, all that good stuff. So what’s left? Oh yeah.
ATTACKS
Dawksin has an interesting playstyle where he deals relatively little damage, and instead leaves shrapnel stacks inside enemies to rip out later as execute damage. So, his attacks need to be quick so he can leave tons of stacks in each enemy he hits.
The usual 4 attacks isnt enough, so we’re going to up that a bit and have 7 attacks total.
Light Attacks
An opener that’s fairly quick to start
5 attacks that ramp up in speed heading towards the end
A finisher with a brief pause before looping back to the beginning
Excuse me sir, 7 Attacks in 4 seconds is illegal. We’re going to have to issue you a citation.
Might need to adjust the speed faster or slower when we do a bit more testing, but I have a hunch it might be too fast.
HEavy/Charge Attacks
Heavy attacks can all be charged, so by design, these cant be fast.
Same 3 combo setup as before
Easy Peasy
Situational Attacks
Each one of these has a light attack and heavy attack variant.
Dodge Attack
Sprinting Attack
Air Attack
Ok, so Dawksin is just about done in less than a week. Pretty cool, now we can move on to-
Wouldn’t it be cool if he also had attacks that are unique when he summons his weapons?
What? That’s so much more work. He already has double the amount of animations.
After 0.1 seconds of testing. Yes. It would be cool, and he feels incomplete without it.
Now we have to do it.
Yeah. That feels much better
Rinse and repeat for every attack type and now we can call him complete. I’ll keep all the different variants under wraps for now so you can try them all youself in game.
All in all, not too bad for a weeks worth of work. Its certainly way more than the standard 65 animations from last week.
Mortal Rite is a solo or multi-player, co-op game that needs to offer a challenge to players. How do we challenge players when they are solo or in groups of various sizes without having the experience be too hard for a solo player or too easy as soon as you group with someone?
Well, I’m not sure anyone can give an exact answer for this problem. So, here’s how I hope to achieve the possibly unachievable.
But first, some information and a history of decision making about enemies and placing enemies in levels:
In the beginning, we needed a way to put enemies in levels and have them do things. We needed to define what enemies would be doing in general and what tools a level designer would want to have to make levels work.
What does an enemy do when it’s not attacking the player?
Enemies obviously need to attack players. That part is clear. But when the enemy isn’t attacking the player, it needs to do something else. The list that I came up with initially was based on the games that I had played before:
Idle: Stand around and do nothing until a target is acquired.
Wander: Move around in a radius until a target is acquired.
Patrol: Path from waypoint to waypoint
Guard: Stand in a specific place facing a specific direction and having a specific guard idle
How does a level designer place an enemy in a level?
Poof! Placers exist.
Placer that will spawn a Ghoul for 1 or more Players when a trigger volume is triggered
Placers can be put in any level that tells the proper systems what type of enemy to spawn and where to spawn it. Placers allow systems that preload enemies to determine how many enemies a level needs and decouples the enemy count from how many enemies are in a level at any time – specifically: Not all placers need to have an enemy spawned, but it has the information to spawn an enemy if needed. Placers decouple needing to know how each enemy works and how it should spawn from the enemy itself. The placers just handle everything and only present the level designer with the information and settings that they should care about.
Blue: Navigation Mesh; Yellow Placer drawing attention to the placement of the Ghoul.
Placers also provide feedback about where an enemy can spawn. In order to have enemies move around the level, the level has a Navigation Mesh that the Ai controlling the enemy needs to move from place to place. Placers will turn red when a level designer tries to put an enemy in a location that fails validation, and placers will turn green when the location passes validation.
How does a level designer configure an enemy to do something specific?
Placers have settings to determine what enemy spawns, what mode they should spawn as (e.g.: Idle, Wander, Patrol, etc.), and any other information that is needed. As we add new enemies or spawn modes, the placers are updated with the new enemy types and spawn modes as necessary.
How does a level designer determine when an enemy will spawn?
Placers can be configured to spawn an enemy instantly, after a delay, when another placer’s enemy dies, or when a trigger happens (e.g.: when a player walks into an area, or pulls a lever, etc.). Placers can also interface with Placer Proxies. Placer Proxies can be linked with one or more Placers or one or more Proxies. Placer Proxies can trigger off several events: Spawn, Death, etc.
Test your might
By using a combination of Placers and Placer Proxies, complex spawn logic can be achieved.
Enemy spawn logic using Placers and Proxies
Placers can also be configured to spawn based on how many players are in the level using simple less than, greater than, and the like logic. Example of this is for a single player playthrough you only want one Heavy Archer on the bridge shooting at the player, but when you have 3 players in the level you want two Heavy Archers on the bridge shooting at the players. This adds more complexity, because the Placers and the Proxies also need to be smart enough to trigger off each other if the player counts didn’t meet the linked Placer or Proxy spawn criteria. Kind of difficult to articulate this exact scenario.
What does the Nanite Lumen Test Level look like with all the placers all over it then?
It is. Well, it’s more complicated than it needs to be. One of the things that we keep running into is making things overly complicated until we know exactly what we need to do. Once we know exactly what something needs to do, we can simplify it.
Summary
Because of Placers and Placer Proxies, Level designers can place enemies:
in specific locations
in specific modes
with specific spawn criteria
for specific player counts
Because of Placers we can also preload pools of enemies that can end up saving resources because we don’t need to have all 169 enemies used in the Nanite Lumen Test level spawned.
Hey! I saw on TikTok that you had to spawn all the enemies needed ahead of time!
Right. Originally, we thought we could just spawn in enemies when and where needed. This seemed to work for most of the enemies but there was a point in development where spawning in an enemy at runtime would cause a huge hitch. That’s not good.
We didn’t know at the time that this huge hitch was caused by an issue with how we setup cloth on specific enemies, and that there was an issue with how cloth initialization was being handled by the engine. Knowing is half the battle.
Once we had the hitches, we thought that we needed to pool the enemies so that we could just move them into place and turn them on. We went through a few different versions of pooling:
Pooling Versions:
Small pools with the hope that we don’t run out of pooled enemies (e.g.: Placers for 30 ghouls in the level, but a pool of 20 ghouls because we didn’t think it was possible to fight through 20 ghouls before recycling ghouls happened).
Pools for all enemies in the level. Never run out.
Pooling version 1 had the issue of having the pools run out and needing to fall back to runtime spawning. Not good.
Pooling version 2 had the issue of needing to have a ton of pooled enemies hidden somewhere. Even though the enemies were hidden, and they were not running any logic, they still ate more resources than we wanted. Knowing is all of the battle?
All versions of Mortal Rite that have been played by the public have had some form of pooling of enemies, because, based on how the development of Mortal Rite has gone, we needed pooling in order to solve problems caused elsewhere.
“I told you all that to tell you this…”
Tater Salad
We are always looking for ways to do less as developers. There’s so much to do that any place that a developer can save time is helpful, but we never want to compromise on specific things. Example is cloth. We could have sacrificed cloth in order to solve the spawn hitches, but we decided that we cannot give up the cloth. The cloth is too important for our characters.
Alex would often ask, “Isn’t there a simpler way?”
Isn’t there a simpler way?
Alex
And yes, basically there is.
Now that we’ve been through all of these different ways of not really handling spawning good enough, I can reveal the new master plan for Mortal Rite Version Next and answer more of the original question:
“How do we challenge players when they are solo or in groups of various sizes without having the experience be too hard for a solo player or too easy as soon as you group with someone?“
Me, earlier.
The new master plan for levels is as follows:
Technology:
Make use of World Partition and Data Layers to manage levels.
World Partition
Allows the loading of sections of levels so that clients don’t need to have everything loaded
Will load enemies that are within range of the client if the enemies are in the level itself. This handles the pooling issues.
Data Layers
Allow levels to be split up into sections that can be loaded and unloaded at level load time or at runtime on demand.
Make use of Placers because the placer workflow is known to the whole team and makes working with enemies easier.
Levels will consist of a base level that is always loaded no matter what, at least one extra level data layer that contains interesting parts of a level, and at least one enemy data layer that contains the enemies for the level.
Base Level + Level Layer + Enemy Layer = Player Experience
At level load time, we can choose which combination of data layers to load. Loading different combinations of level data layers and enemy data layers allows us to change the layout of the level, and the enemy count and enemy composition.
Having everything be defined in a Data Layer means that it’s easier for a level designer to just do their thing and not have to worry so much about Placer configurations for the correct number of enemies for the correct number of players. It means that a level designer can just open the Nanite Lumen Test level, hide all data layers except for the 3 player version of the level, and then get to work. The systems will do the rest of the work.
Levels can and will be made with several different level layouts and several different enemy layouts that can be cycled through either at load time or after the level has loaded. This means that each time a player enters a level there is a chance that they will see a different combination of level layout and enemy layout, which increases the challenge that a single level will present, and will keep players on their toes.
This week was all about adding Dawksin’s Pierce ability back in. There was quite a lot added to port projectiles to the new project so lets dive in.
The Base Projectile
Before I could even start porting Pierce, I needed to rebuild our base projectile.
“What is a base projectile?”
You
Basically, it’s a bunch of functionality that any projectile we create is going to share. This let’s us save time by not having to define how every single projectile:
Moves
Deals Damage
Processes Collisions with Friendlies
Processes Collisions with Enemies
Gets destroyed on impact OR Impales on the enemies
etc.
So let’s port over the basic functionality.
I started out in c++ land, to define what any projectile can do, no matter what type it is. This includes some really basic stuff like checking if it’s already hit something in the world so it doesn’t process it twice.
I tend to make most my objects very generic in case we need to change something in the future, so I added a way to fire events and define what information is passed in the blueprint itself.
That should come in handy later…. Much later. However, with that done, we can move on to the actual in-engine object.
From here I needed to make sure it can move, so a movement component was added with an initial speed. This gets us to our first step where the projectile can at least move.
It needs to move though….
The spawn doesn’t quite know where to place the projectile so by default it places it at the world origin (X: 0, Y: 0, Z: 0). So to address that we’ll say the caster is where we want to spawn this projectile.
This lets us choose any actor to specify as target data.
So we’ll wire it up again, and test.
Great success.
So that’s great, let’s see how it work against enemies!
not quite what I had in mind.
So from here we need to tweak a few things.
Projectiles don’t detect enemies.
Even if we do add collision detection, we need make sure we don’t hit the same target twice.
It spawns right away, so we want to hide it until Dawksin’s hand is outstretched.
If it can’t detect enemies, it can’t detect walls or the floor, so it can go through those.
Needs to be Faster
So lets make those adjustments!
Tweaking the base projectile
We’ll add a collider, and check to see if we hit anything, if it doesn’t like us very much, we’ll try and deal some damage.
Next we’ll tackle the spawning problem. We’ll add some events to the animation when Dawksin’s hand is outstretched, and when he pulls back.
Then in the projectile we’ll add some listeners to respond to those events. The main thing going on here is hiding it and stopping it’s movement.
(Also other performance considerations like stopping it from ticking. Which is a whole other post on its own, as performance stuff leaks into everything, and ticking is a big deal when you have a bunch of actors in the world, so you need to stop actors from ticking whenever they aren’t relevant, and back in my day we didn’t have-)
Here we listen for animation events from Dawksin
So anyway, lets see where we’re at.
Hey we’re detecting baddies!And the projectile chills out till we’re ready!
You may ponder
Why did we go through the trouble of making the projectile wait and then move? Sure it looks nice, but couldn’t we have just spawned it as soon as Dawksin’s hand reached out?
Well yes… but also no.
ITS MULTIPLAYER CONSIDERATION TIME
Because we’re multiplayer focused we need to think about what happens when any lag strikes. I was doing some reading a while back and this same scenario cropped up a long time ago. There was a great talk by Bungie on some methods they used for hiding lag in Halo. Lag is always going to be there, you just need to be smart about how you hide it.
So in Bungie’s case we can look at how they throw a grenade.
Picture this: You’re playing a round of Halo2 and you’re connected to your buddy. You go to throw a grenade.
A grenade toss animation plays, and a few frames later you see the grenade leave your hand.
You go to throw another grenade. BUT A LAG SPIKE HAPPENS!
You still play the grenade toss animation, and a second later, you see the grenade in the distance still landing where it should have.
This happens because the grenade spawns on your buddy’s machine, (The Host/Server) and you see the grenade when you hear back from their machine. If you were allowed to spawn it on your machine, you could cheat, and spawn as many grenades as you wanted. So safer to spawn it on a trusted machine.
So we’re taking the same approach and spawning the Pierce projectile right away, that way you can have it in your world as soon as possible to hide some of the lag.
So now all that’s left to do is uh, you know, the rest of it.
Let’s add damage!
But Pierce has more heart than this. It’s very soul is missing.
THE RETURN PROJECTILE
Pierce returns to it’s caster, so we need to introduce a child class of our projectile.
The Homing Projectile. This class basically says, hey you can spawn me wherever, but tell me where to target and I’ll go from where I am to where I need to be!
Target Acquired
Once we wire this up we get something that looks like this
So now it moves the return projectile to the initial projectile’s location, and then tells it to simulate. (Multiplayer: we also spawn this guy ahead of time, so technically both the initial projectile and the return projectile exist at the same time, they’re just deactivated until we need to use them)
We’ll add in collision detection and damage next.
Lookin pretty good
VISUALS
Lets give pierce the look it deserves.
We’ll port over the mesh and particle systems, and wire them up where it makes sense. Since we don’t want the player to pay replication costs, we simulate anything locally wherever we can. In this case, since Dawksin is playing an animation on everyone’s machine we can stick the effects there.
The effect plays in a weird spot, so we’ll fix it up as soon as it spawns.
🤞eyyyyy that’s looking better
We’ll add another to the return projectile to complete the look
No replication cost. Yay!
And finally we’ll wire it up to apply Dawksin’s Shrapnel stacks which we implemented in our last post.
So that’s fine and dandy, but it is a little hard to aim witho-
RETICLES
Normal humans can’t aim at the center of their screen all willy nilly.
Let’s give the player a reticle to help with aiming. Here we import an icon for our reticle, and let it know it can change colors depending on who it’s over.
I’m not the best magician when it comes to making materials, so this one’s pretty simple.
Next we can make a widget to add on screen and give it this material. Complete with animations to change it’s color
Then we can tell it to either be center screen, or align with your lock target
This reticle business got out of hand pretty quickly :<
The important bit is here were we compute it’s position, and check if we’re hovering over any characters
And it works!
And I’m all out of time this week. I still need to make the hold version of Pierce, add camera shake (it really ties the room together), and add sounds.
But that should all be in by the next time I post.
Since this is my first public post and because we’re going to be doing these weekly, I thought it might be a good idea to include a bit more than just the last week on this one. This post will go through what each character needs just be able to be included in the game.
Setting the standard
For the new project, we needed to establish a baseline set of animations for all characters. We had previously been swapping animation requirements in and out as we ran into problems or removing huge batches when we found more procedural workarounds. We ended up with tons of duplicate files, duplicate master animation files.
SoldierMasterAnimationFile_Version_5_Final_2
Not Great. So we needed a final list of animations that each character needed bare minimum to be able to work in the game.
So, first things first, we need some guidelines. All characters should be able to walk around and such, so what do we need for that?
Walking
Well, we need to be able to walk forward always, and then back, left, and right when you’re locked on to an enemy. Then we need to same thing for jogging.
Sprinting only needs forward, since you can only sprint forwards. You can be locked on while sprinting, but we let you turn your character and only lock your camera.
So our standard movement ends up being :
Idle (we cant just hold perfectly still like some kind of weirdo)
Walk Forwards
Walk Backwards
Walk Left
Walk Right
Jog Forwards
Jog Backwards
Jog Left
Jog Right
Sprint
That seems simple enough, but when we tested it, the immediate transition into walking had the feet sliding around, which didn’t look great.
We added starts and stops to all directions, but that added way too many animations and ended up overcomplicating everything, so we ended up with only forward starts and stops.
Fast forward a bit and we ran into a problem where the system couldn’t tell which stop we should play if the character suddenly stopped. Ended up prototyping a bunch of different ways to handle it, but ended up just using the walk forward stop because that looked good enough on pretty much everything.
Not Perfect, but the walk start makes the transition pretty nice. Just pretend you didn’t see how harsh the walk end is.
So we add those to our list:
Walk Start
Walk End
Jog Start
Sprint Start
Turn in Place
So that covers that basics of movement, so now to finish up the lockon portion, we need to add “turn in place” animations so your character turns towards the enemy if you’re not moving.
Turn in Place IN ACTION
For these, its possible to get really specific with how much each turn should be, but we found that overall 90 degree turns covers 90% of the turns you would ever do, and players arent really going to be standing still much. So this is a good compromise.
So we add to our list:
Turn Right 90
Turn Left 90
Jumping
The last basic locmotion that any character should be able to do is be able to jump. Not all enemies NEED to jump, but they do need to be able to fall, and falling is built into jumping. So we may as well include that for everyone, just in case we need it.
A seemingly simple animation made up of 5 modular parts
Jumping is made up of 5 animations:
Jump Start (squat down and start leaving the ground)
Jump Apex (Transition from jumping to falling)
Jump Loop (Falling – really important )
Jump End (Landing – only seen if you don’t move)
Jump Compression (Weird looking additive animation that makes it look like you bent your legs a bit if you landed while moving)
All of these are pretty simple to see in the animation above except Jump Compression.
Super Cool NOT WEIRD AT ALL Jump Compression
It looks weird and it doesn’t exactly look amazing on its own, but it does help in motion. The idea is to add the motion of only the bones that are moving in this animation above, on top of whatever the character is already doing. We can also scale it, so we apply more or less of it to show landings from high up or small hops.
Jump Compression in Action – Look at you, worried for no reason
So our final set of movement animations is now sitting at 21:
So that covers the basics of movement. Now we move on to more advanced topics like :
So in the old project we had to make every hit reaction by hand, which was incredibly time consuming. There was a post about how time consuming it was on TikTok which got mixed reactions.
On one hand, we don’t want to spend the rest of our lives making hit reactions for every possible direction a player or enemy could be hit, in addition to how hard they’re hit. ON THE OTHER HAND, we kind of want enemies to react to the players hits, but time isn’t infinite.
WHAT DO WE DO?
Well a compromise is in order. We began experimenting a bit and settled on having small hit reactions be handled by the physics system. Not final at all, but seems promising.
Prototype of simulated hit reactions
Larger hit reactions still turn the enemy towards the player (or vice versa if the enemy gives you a beatdown) and then play a hand-made hit reaction just like before. In the future we hope to expand this system a bit to have the hit reactions maybe blend a bit of both together.
Physically simulated Hit Reactions are truly the life blood of modern science.
Albert Einstein
So the Hit Reactions that we now need for every character are:
Standard Reactions
Falter (Small hit – one step back)
Stagger (Medium Hit – one or more steps back)
Pushback (Large Hit – sent back significant distance )
Knockdown ( Largest hit – Knocked back a large distance and grounded for a bit)
Situational Reactions
Rebound (Reaction to being parried)
Block (blocking any hit)
Guard Break (If you were blocking, but ran out of stamina)
Death (final hit – can be used to pick situational deaths, like the ghoul exploding )
With those, we’ve added 8 additional animations for a total of 29.
Now we move on to the final set of aniamtions:
COMBAT
So now that the character can move around in any direction, and respond to damage, the only thing they’re missing is, you know, THE WHOLE DRAW TO THE GAME.
So this is the actual bulk of the animations. To start, we need to decide whether or not this character can block or parry. For this example we’ll stick with block.
Three Animations, one movement
Its also made up of three animations: Start -> Loop -> End
Since its also made up of modular parts, it can also be layered on top of locomotion, so they can walk, jog, sprint, and jump while blocking.
Behold, MODULARITY
So that adds 3 animations to our list depending on which one we choose
Block Loop
Block Start
Block End
Parry Loop (More like a cooldown for mistiming the parry – only plays if the parry misses)
Parry Start
Parry End
Combos
Next up is combos. Combos come in Light and Heavy flavors. Light attacks are generally quick and Heavy are a little slower with increased damage. In addition, all heavy attacks can be charged, which means that they need a windup animation if you charge it AND they need a charged release animation if you make it to the end of the charge.
Light attacks. Simple. Just how momma used to make.Heavy attacks. Not Simple. Complicated. Adds double the amount of animations. Makes me cry. but it feels cool, so its worth it. I’m not crying, you’re crying.
The eagle-eyed among you may have noticed that on the fully charged animation also has the arm grow unnaturally large during the fully charged animation. This is to reward the player with a bit of extra range for fully committing to the attack.
(This is comically exaggerated in this screenshot, but helps to get the point across)
Light set (Typically 3-5 in a combo)
Heavy Set(Typically 2-3 in a combo depending on how complex they are)
Heavy Begin
Heavy Release
Heavy Charge
Heavy Charge Release
So this adds about 16 Animations.
Dodges
To avoid damage, we need to be able to dodge in any of 8 UNIQUE DIRECTIONS.
Ignore my poor display of moving in all 8 directions. Trust me they’re all there.
Dodge Start
Dodge F
Dodge B
Dodge L
Dodge R
Dodge FL
Dodge FR
Dodge BL
Dodge BR
Can’t forget about our good friend ROLL. Cant be dashing when not locked on.
Roll
But if you attack during a dodge/roll, we should account for that and add melee attacks that only happen right after you dodge.
Dodge Light
Dodge Heavy
Wait, we should also do that for Sprinting.
Sprinting Light
Sprinting Heavy
Also jumping.
Air Light
Air Heavy
This adds 17 more animations.
Then we need to account for multiplayer, and make sure that you can be downed instead of dying, revive your teammate, and play your revive animation if you were revived.
Downed
Revive
Revive Teammate
Another 3 animations.
SO FINALLY our total to make any playable character/enemy is:
SIXTY FIVE
Wow that’s a lot. Good thing we now have a UNIFIED SKELETON.
Strong bones help animations be shared
While this isn’t a replacement for hand-made animations across all characters, it serves as a good starting point for making similar animations, or sharing move-sets with similar weapons. So those 65 animations can be tweaked to fit each character rather than starting from scratch.
Behold, animations being shared. Its not pretty, but it helps IMMENSLY.
This was one of the biggest benefits we got from switching to UE5’s Lyra project, but also why its taking so long to switch.
So since everything has been getting updated, it seemed like a perfect time to make the UI a tad more readable. Dawksin’s Recall was a good candidate for this. In the last build he had very minimal UI showing how his ability worked and who was affected by it.
So this week I had a chance to implement some status icons, complete with my very good totally not placeholder art.
Marvelous
With the switch to Lyra as the base project I’ve really taken a liking to the messaging system, which is what’s linking most of the UI together now. Previously, a bunch of our UI was tied up directly to our characters, which was linked to materials, textures, game-objects, abilities! A sprawling dependency chain that made me quite sad.
Why
But with this new messaging system we can just broadcast things like “Hey this enemy just got some stacks of shrapnel!” and the status icon can listen for it and update. No need to say things like “Since Dawksin owns this ability, his model/textures/animations must be loaded for this icon to work!”. Which is quite dandy.
So the icon was added, and wired up to listen to the shrapnel passive ability since it’s responsible for actually applying any of your stacks.
Look at that icon update. How stylish, how functional.
It’s still to be determined whether or not players will find this useful, mainly because we’ve also added a visual aid for shrapnel. So while the icon certainly helps with debugging, we’re leaning towards adding it as a toggle-able option in your game settings.
Ouch
Speaking of that visual aid, previously you couldn’t tell which enemy Recall was going to affect, but now the shrapnel stacks light up on whoever was last hit.
Look at that sweet readability.
Next up was porting over the vfx, which was fairly painless. A lot of the work here was just migrating from the previous project.
Not much to add here. It’s just neat lookin.
Then we also needed Recall’s signature feature, execute damage. I needed to do a little more work on this, since the last implementation had the execute working on tape and bubblegum. This time, to tie it all nice and neat we talked about an execute system that the UI could ask about.
I’m not sure if anyone is really interested in the programming nitty gritty like I am, but if so, this is for you. 😊 The execute system ended up being an interface that let’s us register execution sources. In this case Recall could register itself as an execution source, AND because it can be implemented in blueprints, we can even define how it calculates it’s damage.
It just works ™️
Here in the Recall ability, we can register it as source of execute damage, and broadcast it so the enemy hp bar has a chance to update on the first tick of shrapnel damage.
Registration just adds it to a simple list that knows who owns the damage. This lets other things (like the HP bar) ask for anything that contributes execute damage.
Now you too can register to be an executioner.
And because we implemented this interface in blueprints, we can define how the damage is calculated right in the Recall ability.
Very concise, just the way this blog post is not.
To tie it all up, the HP bar needed a visual to show when someone is within execute range. Anthony had a little icon done up for this a while back so I ported it and wired it up.
Slide baby slide!In action! The tick-mark lights up in red when you can execute